We LOVE styling our clients’ homes with buffets, sideboards, and console tables! They are one of the most versatile pieces of furniture, suitable for all kinds of different rooms and purposes. And the best thing? They are not just aesthetically pleasing, but also functional. Win-Win!
—
Despite their multifunctionality (or maybe because of?), we’ve seen lots of people struggle with how to decorate their sideboards. But don’t worry, we are here to show you a simple way to style your buffet in just 3 easy steps.
But first, let’s go back to the basics.
Where to Position a Buffet / Console Table in Your Home?
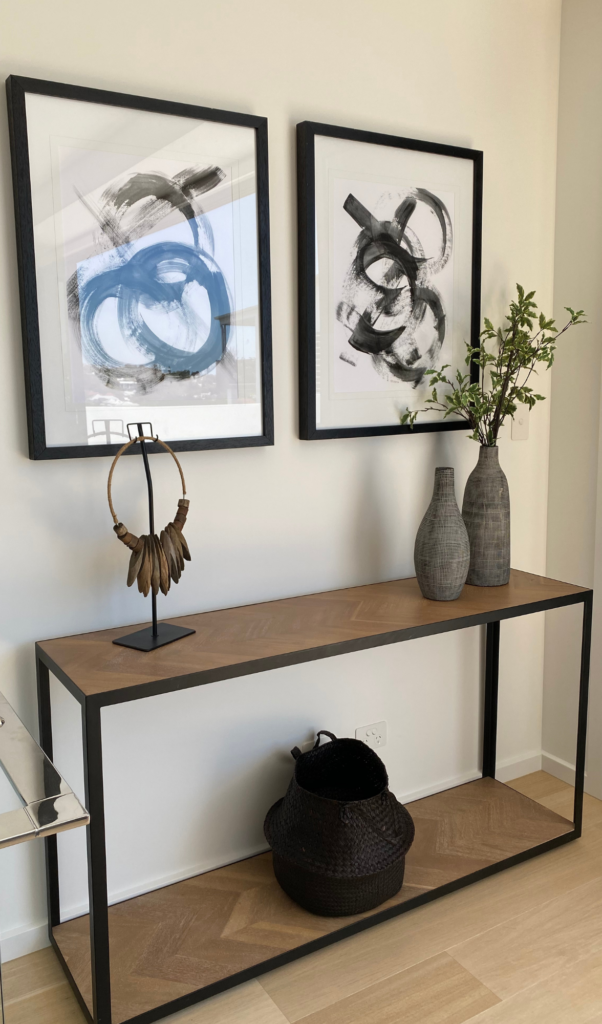
• Entry Hallway – Because most entry hallways are quite narrow, we recommend opting for a slim-line console table instead of a solid buffet/sideboard to make the area feel nice and airy. A console table makes the space feel more formal and provides a functional space for keys, or in our case (styling homes for sale) – a place for real estate agents to display their marketing material.
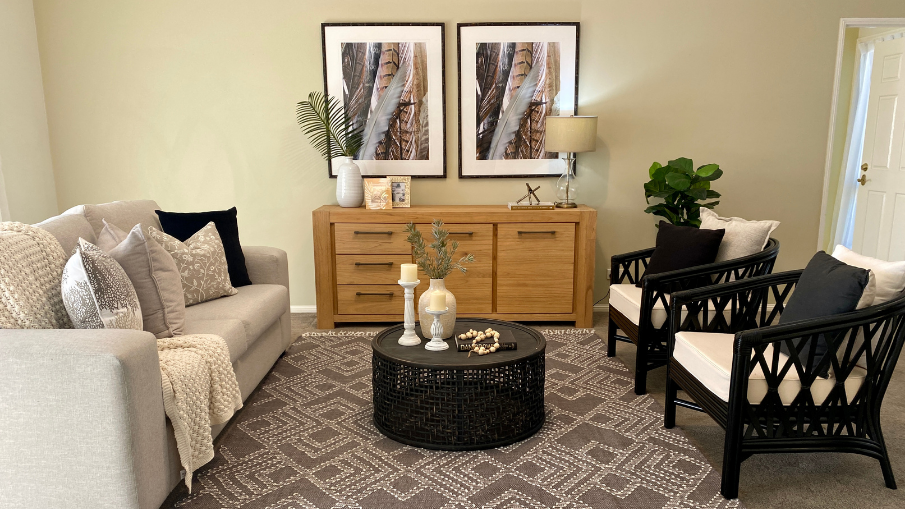
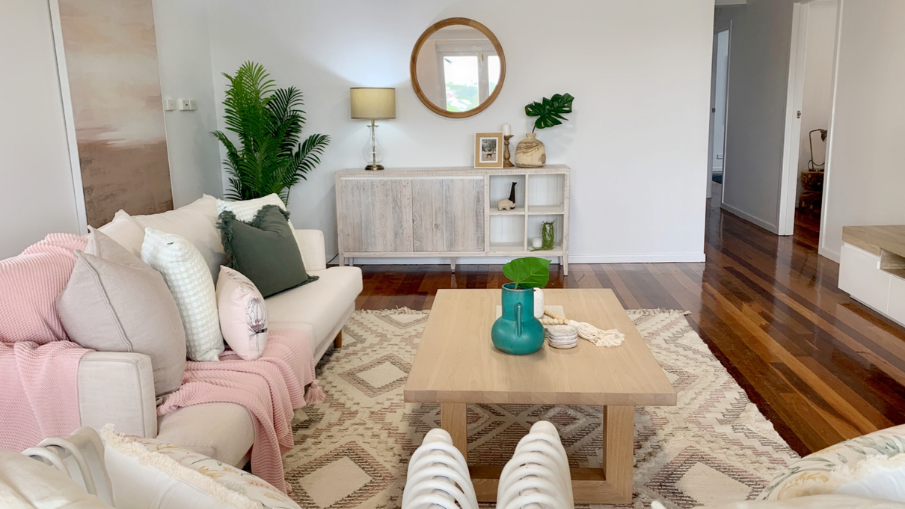
• Formal Living Space – In homes that have multiple living spaces, we like styling one room as an entertainment area with a TV, and another as a formal living area. The latter one usually consists of a sofa and two armchairs facing each other, offset by a sideboard.
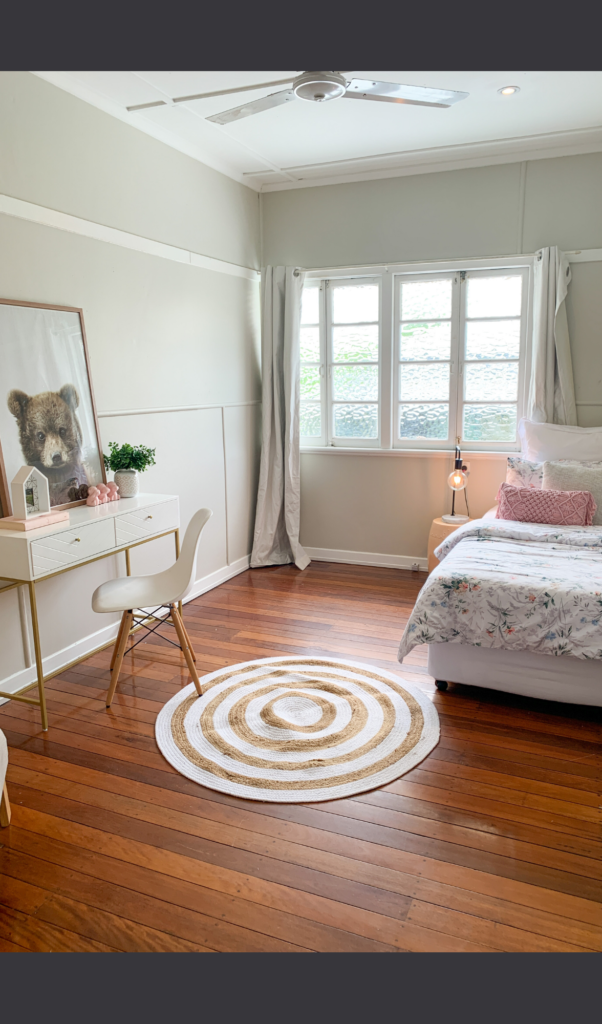
• Single Bedroom – Using a thin console table in place of a desk is one of the styling tricks to make the room appear bigger. It also photographs beautifully for use in professional real estate photos. This is just one of many Home-Staging optical illusions we use to maximise the potential of the house.
• Awkward Empty Spaces – Everyone has that one empty corner in the room or the odd-shaped nook they don’t know what to do with. Console tables are one of the 15 Ideas for Styling the Awkward Empty Spaces in Your Home.
Décor Ideas
We’ve put together a list of décor items that we like to place on buffets or console tables. At the end of the day, choosing the decorations comes down to your personal style & preferences, so don’t let this list limit your own ideas. Instead, use it as an inspiration.
- Candles / candle sticks
- Books / magazines
- Vases (empty or with plants)
- Picture frames
- Table lamps
- Small sculptures (abstract, animal shapes)
- Decorative bowls / plates
- Baskets (for the bottom part of the console table)
- Beads
- Bookends
Tips for Décor Selection: Match the style of the decorations to the style of the room and stick to one colour palette![]() to create harmony and flow. To ensure the final look is visually interesting, diversify the shapes and textures of your decorations.
to create harmony and flow. To ensure the final look is visually interesting, diversify the shapes and textures of your decorations.
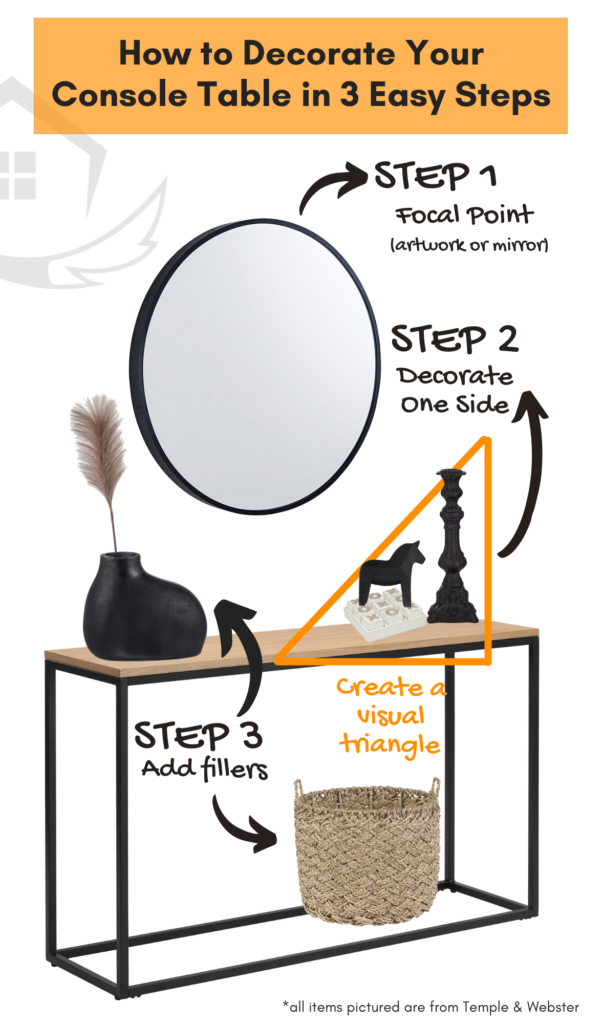
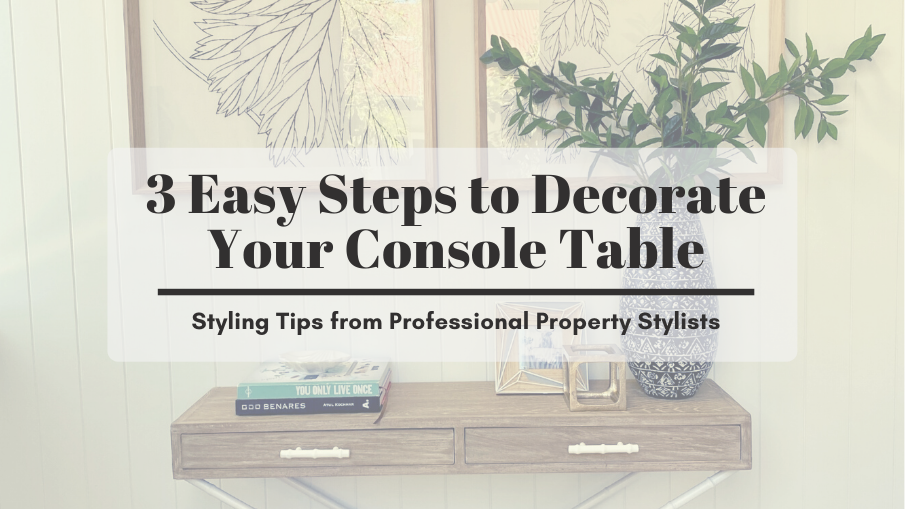
How to Decorate Your Console Table in 3 Easy Steps
Step 1 – Start with a Focal Point
Sideboards without artwork or a mirror are as bare as the toilet paper aisles in grocery shops at the start of the pandemic. Empty. Wiped out. (pun intended)
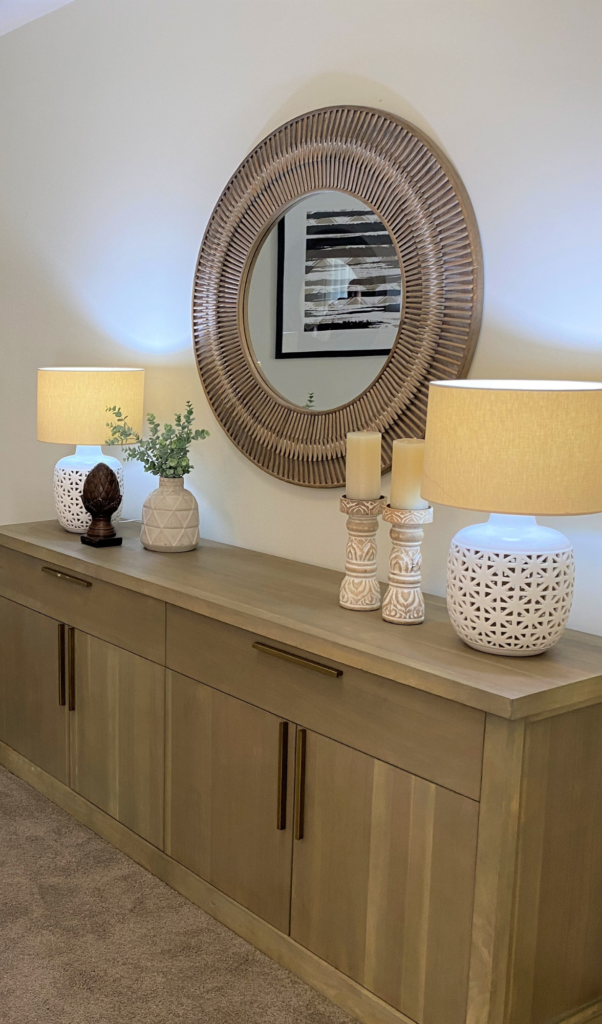
But in all seriousness, choosing a focal point (an artwork or a mirror) should be the very first step in styling your console table. It does not only lay the foundation for the colour palette, but it also shows how much space you have left for decorations without covering too much of the focal point.
When you’re torn between using a mirror or an artwork, here are a few of our tips to help you decide. At Foxy, we don’t really have any strict rules when it comes to this decision, our Property Stylists usually go with whatever they feel suits the space the best.
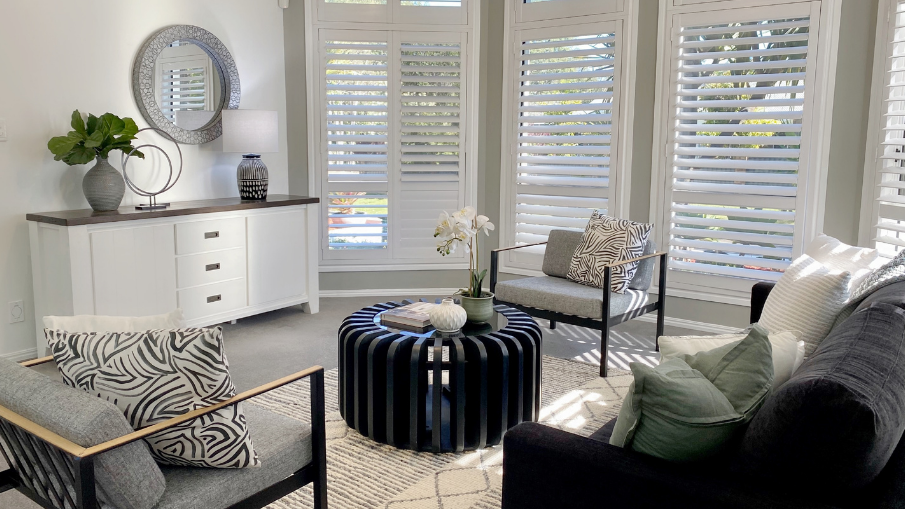
When to use a mirror:
- When the room is particularly dark.
- When you want to make the area look more spacious.
- When the reflection hits the window just right.
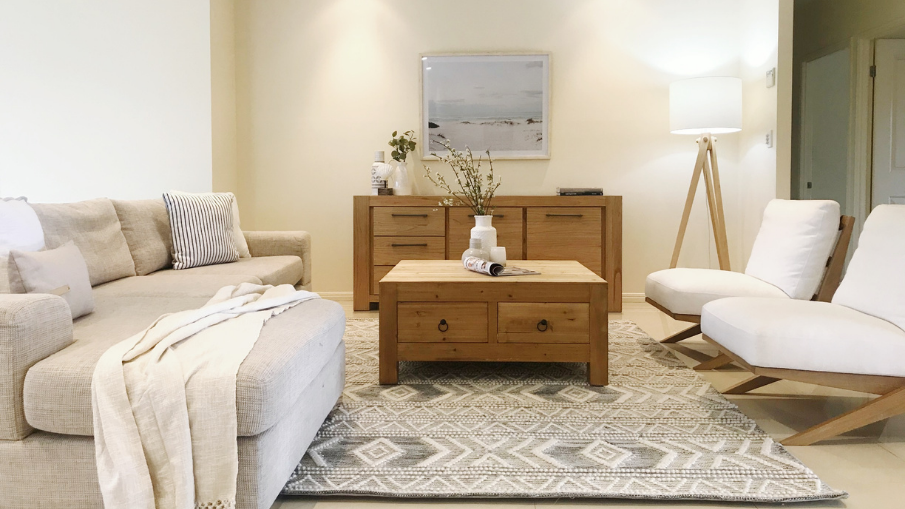
When to use artwork:
- When the console table is straight in front of the entrance door (according to Feng Shui, it’s believed that mirrors reflect good energy and send it back out the front door).
- To tie the space together when you have matching pairs of art.
![]()
Tips for hanging art:
- Centre the art in the middle of the console table
- Leave a gap of min. 20cm between the art and the console table
- Unable to put hooks in the wall for whatever reason? Place the art on the console table and lean it against the wall
Step 2 – Decorate One Side
Let the fun begin! Choose one side of the buffet, we recommend starting with the side that is further from the rest of the furniture or other accessories (e.g. if you have a floor lamp on the right side of the buffet, decorate the left side). This is going to help balance out the overall look.
—
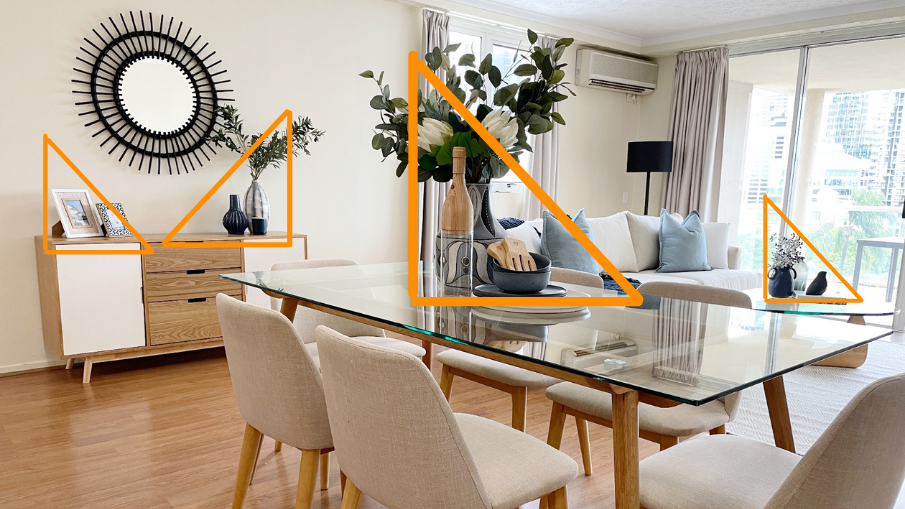
Crete Visual Triangles
Choose decorations that are different heights and start with the tallest one, placing it on the outer edge of the console table. Then add the mid-height décor items and lastly, add the smallest items like books or magazines. These can also be used as a base for the taller decorations.
Creating a triangle shape not only ties the space together, but it also enhances the focal point by “pointing” towards it.
![]()
Not sure how many décor items to use?
There is no “perfect” number, but if in doubt – we suggest sticking to the Rule of Three.
Step 3 – Add Fillers
Take a few steps back and look at the overall space. If it appears just right or maybe even slightly crowded, skip this step altogether. If you feel like it would look better with a little extra somethin’ somethin’, then keep reading.
Focus on the other side of the buffet and follow the same principle highlighted in Step 2. Don’t forget to fill any open shelves or bottom racks of the console table (we love using storage baskets to variegate the textures).
Important to mention: We recommend keeping the centre of the buffet empty. This prevents it from looking too busy, while simultaneously drawing attention to the focal point.
Thank you for reading!
For more home styling related content, follow us on Facebook, Instagram or watch our Youtube Channel!



Facebook Comments